Hello good sir, if you've made it here, you're probably wondering what the hell's happening when you see this.
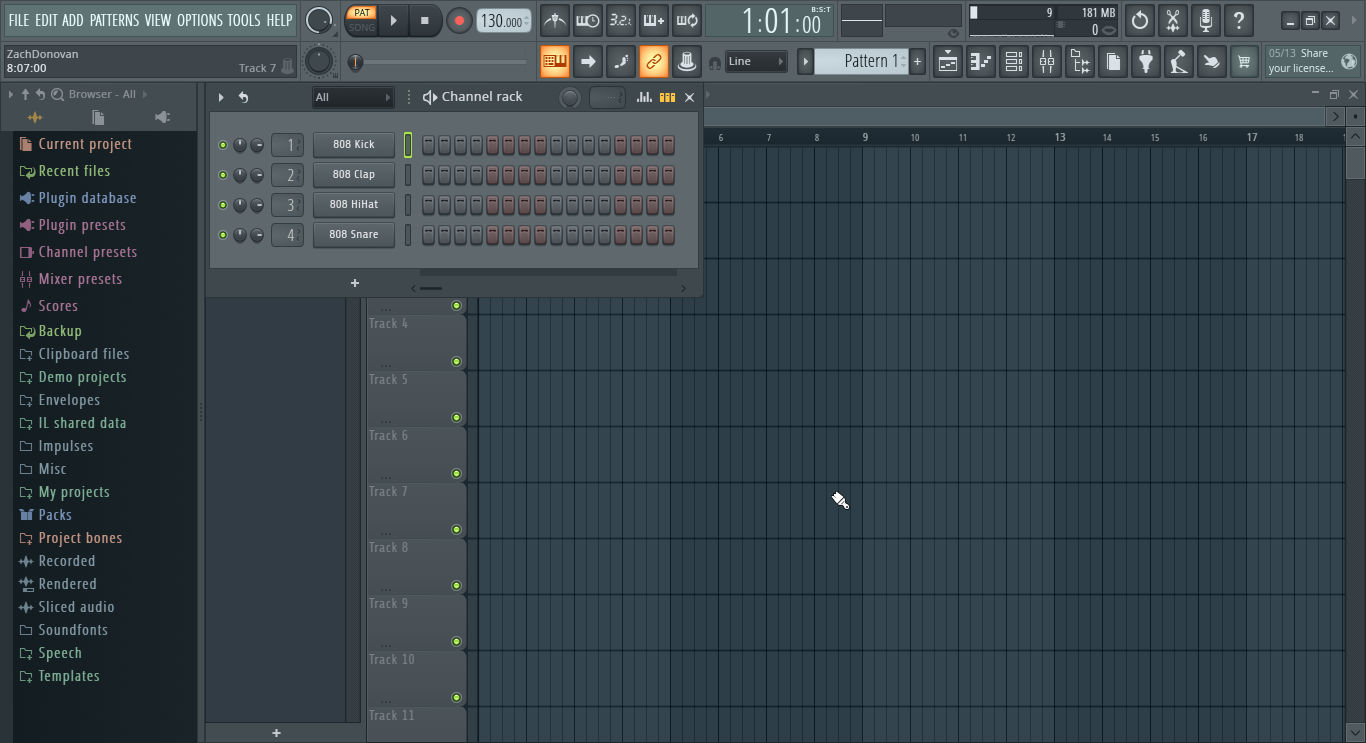
That's good that you're asking questions, and welcome to FL Studio. Over on the top right of the screen, you'll see these weird buttons, we'll call these "icons".
Let's go over what each icon does from left to right.

I'll try to quickly explain what each icon means, and what their respective feature is. We'll go more in-depth into said features in future tutorials, but right now we're basically just familiarizing ourself with FL's layout.
Let's take a break from the buttons a bit, check out this File Explorer-type thing.
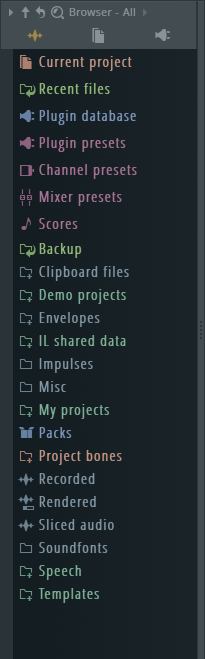
This is called the "Asset Browser". If you've ever used a computer, you'll be familiar with folders. So don't be afraid to click on them. If you want to add some folders to this mega-list, don't worry, we're getting there.

Back to buttons for our final stop, this is the menu panel, which acts like a toolbar. You've probably interacted with these before, so I'll just go over some key items.
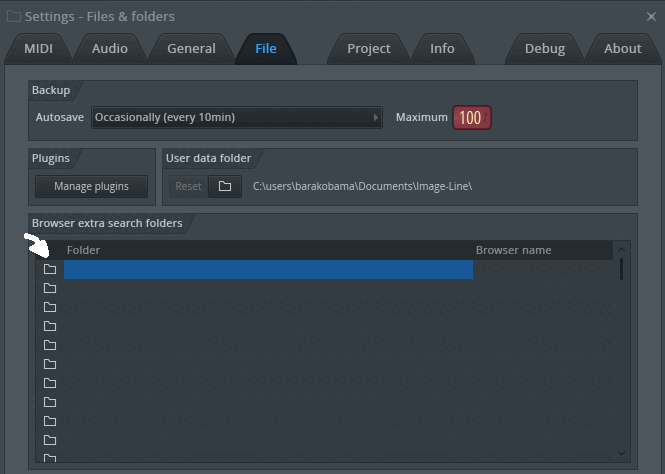
Options > File settings - Hey look, this is where we can add our custom folders. (Typically for Samples, Soundfonts, and VSTs, but you can add anything really).
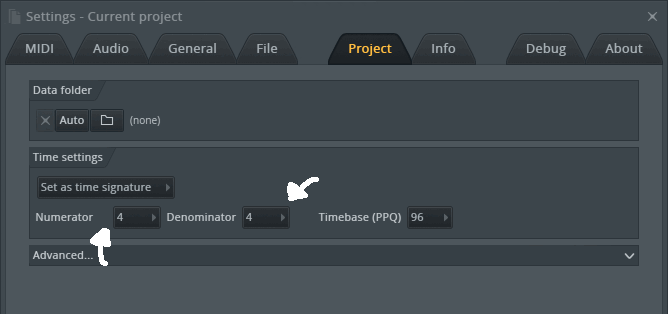
Options > Project general settings - You can change your time signature here! choose from the drop-down menu, or make your own!
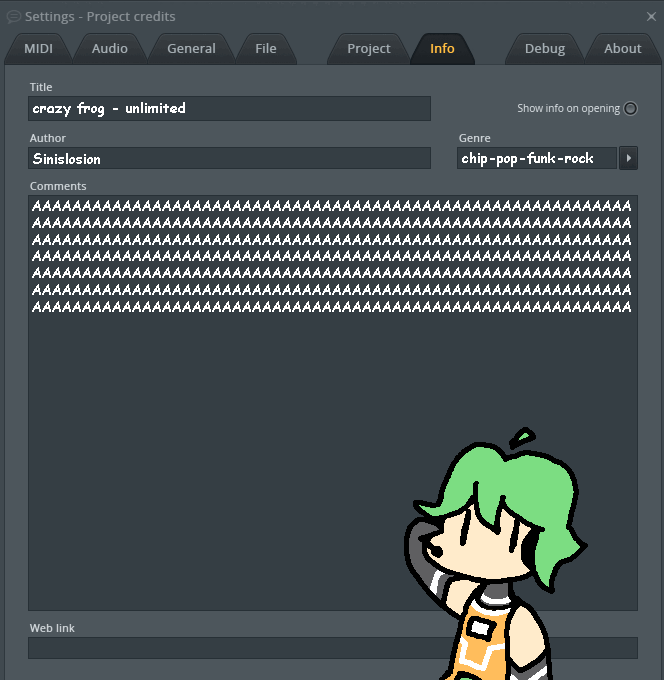
Options > Project info - Everyone loves metadata! Here, you can add metadata to the files you export, as well as the FLP.
Everything else here should be reletively self-explanitory. For more information, please refer to the manual.